Elf On The Shelf Free Printable Props

The Christmas season is finally here! Let’s be honest… I got a jump start on my holiday decorating and put up the stockings before Christmas. But, now that Thanksgiving has past, our Christmas traditions have begun. The first, and most exciting (for the girls and myself) being our Elf on the Shelf, Bell, has made her way back from the North Pole!!

IMG_5662

Last year, was Bell’s first year gracing our home, and to be entirely honest, I wasn’t very prepared for the nightly demand of hiding the elf (while trying to be original and creative). More times than not, I was scrambling to hide the elf in the morning, holding my kids hostage in their room before they could come out and look. And I felt like I coulda, shoulda, woulda done the whole thing differently if I had just planned a little bit better. Thus, about 2 weeks ago, I put together of a daily calender of our Elf’s hiding spots, and some very helpful printable props to make each morning a little extra special. Additionally, I put an effort in making some of the days meaningful to the spirit of CHRISTmas. I’m going to be honest for a minute; It is HARD to teach young children the real meaning of Christmas in this society. I get caught up in the shopping, the presents, the glamour of the holiday more than I would like to admit. And I know that  is what often makes Christmas so magical and fun for kids. But it has nothing to do with the birth of Jesus. So, finding ways to teach and train my girls about the miracle of Jesus, the gift of the gospel, helping and giving to others, serving others, etc. means everything in the world to me (even if it is taught through a silly/naughty/curious little elf)!

Our elf joined us from the North Pole the morning after Thanksgiving, thus our Calender looks like this, but can be done is any order that works for you:

Nov. 28 – Pilgrim hat, turkey left-overs, letter from the Elf to kids, Elf book.IMG_5751

Nov. 29 – Super Hero Elf

IMG_5785

Nov. 30 – Elf decorates a Christmas Tree (because this is the day we are going to get our tree)IMG_5794

Dec. 1 – Elf goes to Dutch Bro’s and brings hot chocolate. (*note: dutch bro’s gives kids drinks in reusable plastic cups, so on this morning I make hot chocolate at home and put it in the dutch bro’s cup’s I already have so that I don’t have to make an early morning trip to the coffee shop.)

IMG_5848

Dec. 2 – Elf bakes cookies to share with others and makes a snow angel in the flour (teach your kids about serving others by delivering cookies to neighbors or the mail man or someone you want to say ‘thank you’ to). IMG_5830

Dec.3 – Elf Draws a family portrait on easel

Elf on the Shelf draws the family

Elf on the Shelf Family Portrait

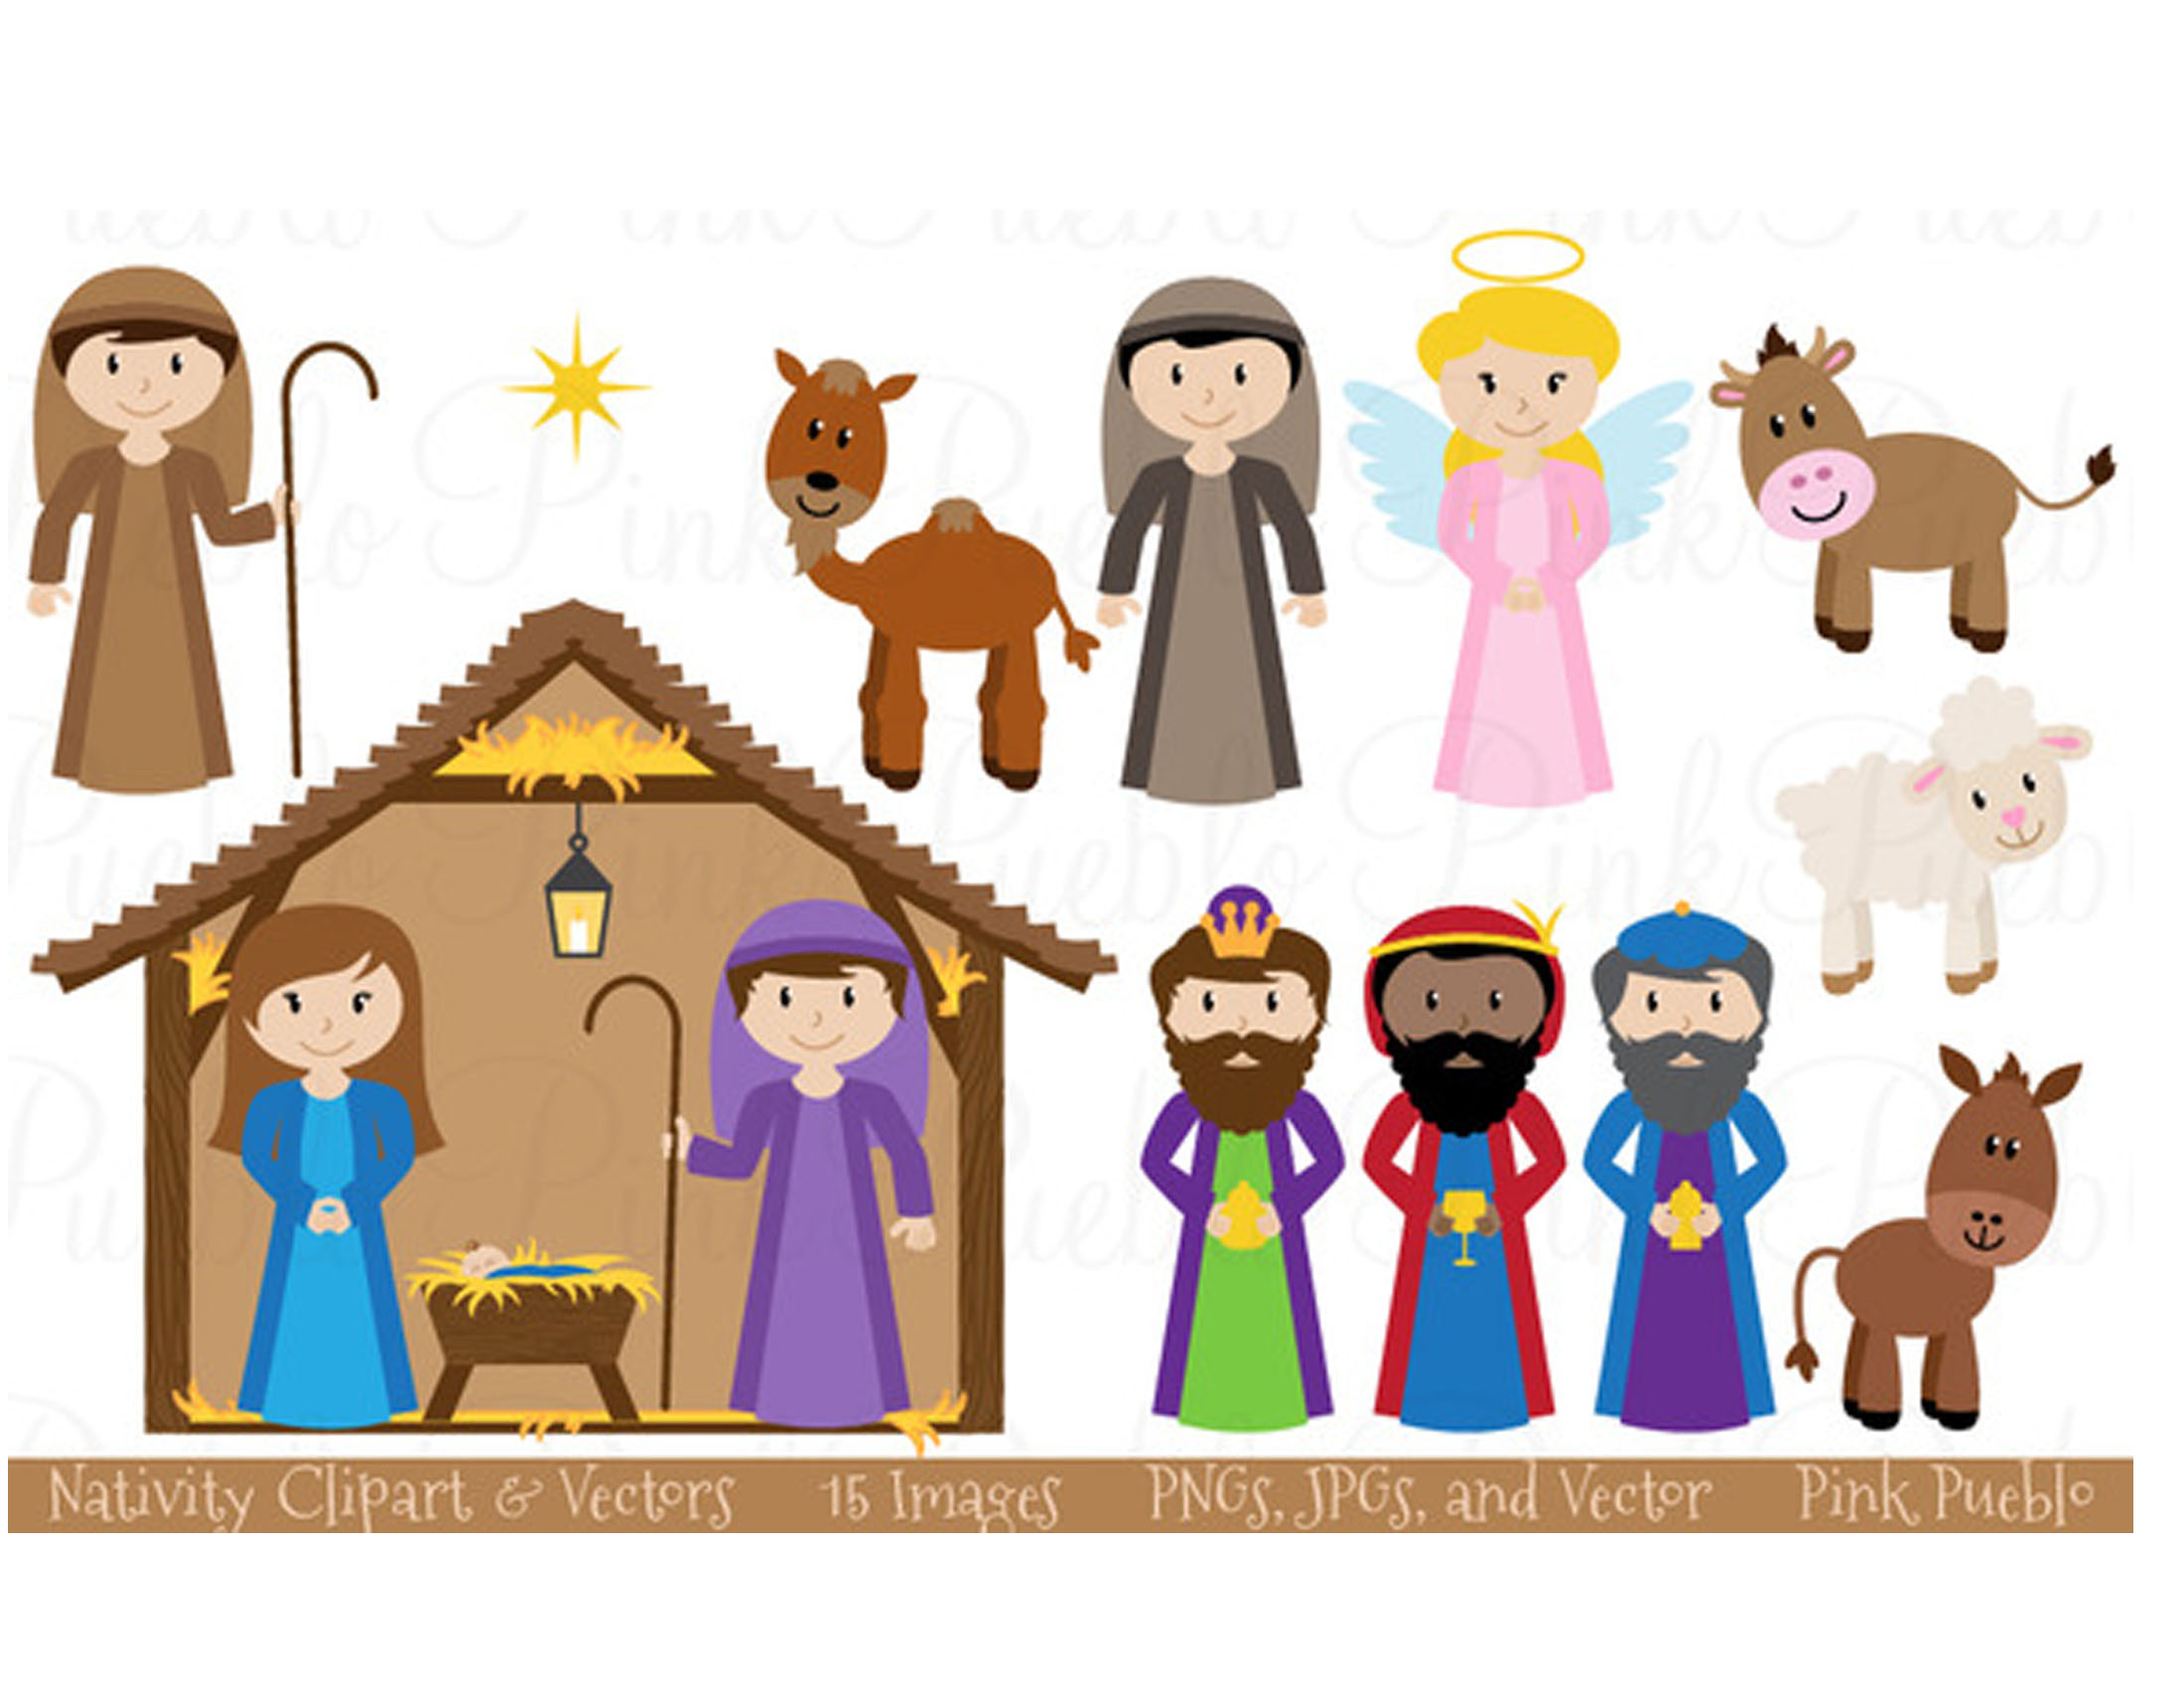
Dec. 4 – Cookie Sheet Nativity Magnets (note* This requires a little DIY – simply print the full size nativity paper, and cut out each person and stick a small magnetic strip on the back (buyable at local craft store) then arrange the nativity scene on a cookie sheet for your kids to play with. The elf also has a miniature cookie sheet nativity to hold in the printables.)Dec. 5 – Elf looks through toy catalogs

Dec. 6 – Elf goes shopping (wears sunglasses, holds shopping bags) Elf on the shelf goes shopping

Dec. 7 – Elf sleeps next to Baby Jesus in the manger (wears sleeping mask) Elf sleeps by the Nativity

Dec. 8 – Elf makes “North Pole Doughnuts” for breakfast (requires store bought powdered sugar doughnuts and red and white paper straws)     Elf on the Shelf North Pole Doughnuts

Dec. 9 – Elf writes a letter to Santa about the kid’s behavior       Elf writes letter to santa

Dec. 10 – Elf builds a snowman                Do you wanna build a snowman

Dec. 11 – Elf Dresses as a Wiseman (requires purple felt to make a robe)

Dec. 12 –  Elf cleans kids bedroom or toy room (again, teach your kids about serving others, being helpful, etc.) Elf on the Shelf cleans

Dec. 13 – Elf rescues a puppy (box of puppies *requires one small plastic puppy from craft store) Elf on the Shelf and box of puppies

Dec. 14 – Elf dresses as a Shepard and joins nativity scene   Elf on the Shelf Shepherd

Dec. 15 – Elf leaves a list of “5 ways to serve others” for kids to complete that day. (*service activity)

Dec. 16 – Elf makes paper snowflakes with scissors

Dec. 17 – Elf goes Christmas Caroling

Dec. 18 – Elf reads Christmas book (*requires you to buy a Christmas book for your kids too).

Dec. 19 – Elf hangs stocking on mini fireplace

Dec. 20 – Elf follows “North Star Map” leading to the nativity and kids follow the stars as well.

Dec. 21 – Elf dresses as an angel                  elf dresses as an angel

Dec. 22 – Elf rides a reindeer   elf rides a reindeer

Dec. 23 – Christmas Movie Night (popcorn, soda, Christmas movie printables

Dec. 24 – Elf gives Christmas Jammies,goodbye letter, sleeping bag to sleep under the Christmas tree

Now, here are the free printable’s. They were made for my calender days, so to make them work for you, may take a little creativity and imagination. But use one or use them all! I hope your December Days are filled with fun Elfie memories!

Elf on the Shelf Printable Props

Elf on the Shelf Printable Props

nativity for kids

elfie drawing and cooking

Elf on the Shelf Free Printable

Elf on the Shelf Free Printable

Elf on the Shelf Free Printable

Elf on the Shelf Free Printable

Elf on the Shelf Free Printable

Elf on the Shelf Printable

Elf on the Shelf Printable

Elf on the Shelf Printable

Elf on the Shelf Printable

Elf on the Shelf Printable

Elf on the Shelf Printable

*** I will be updating this post daily with photo’s of our elf Bell, so you can see just how I applied the props!


Don’t Crowd My Corners! (One ‘quantifiable’ component of “bad” interior design)

A lot about interior design is subjective. It is often a matter of personal opinion, style preferences, budget constraints and taste level. It is also one of the hardest aspects of being an interior designer- how to separate good design from bad design. I personally appreciate all different taste levels, styles, and budgets (big and little). And I think good design can reside in many, many forms. In fact, I was rather aghast in reading a fellow interior designer say that it is a BIG “No, No” to have fake flowers, poly-fill pillows, and low thread-count linens. And that is just absurd. Although I understand where she must have been coming from… some things are better than others… but they certainly do not separate good design from bad design. It is silly for designers or “decorators” to come up with rules like this. It suggests that interior design is trivial. And I can surely tell you as an interior design major, that design is anything but trivial. If all I had to worry about were thread-counts, then I wasted a lot of money to get a 4 year education on this subject. But enough said about that.

To classify something as “bad” is really, really hard. Because most things that are actually ‘designed’ have had a lot of thought put into them,  and therefore probably are not bad at all. It is the things that are not considered, and where little or no thought has been made, where some of the cardinal rules of design are broken (dun dun dun). So, I guess the best course of action in eradicating “bad design”, is informing people on some of the actual “No, No’s”.

how to measure good design

Scale separates good design from bad design.

Today I am going to address “Crowded Corners” which falls under knowledge of space planningSpace Planning refers to floor plan drawings that create spatial arrangements for interior spaces. These arrangements take into consideration window placement, door placement, architectural and structural details and furniture placement. Often space planning begins when the exterior of a building is being designed in architectural form. Because, where a window is placed on the exterior of the building is also where it is placed on the inside of a room. (A window that is centered/symmetric/thoughtfully placed on the exterior, may just so happen to be in the most awkward position in an interior space).

Now on to those crowded corners. Arranging furniture in a room can be tricky; especially when  the given dimensions, window and door placement, and other obtrusive architectural details (from columns to fireplaces) are prohibiting. And more often than not, homeowners seek symmetry in their furniture arrangements, despite the unsymmetrical room. So, what often ends up happening is crowding furniture, and “overlapping” furniture corners. The following diagrams will illustrate some possible scenarios much better than my words could ever do.

Example 1:

bad 1

Here is a simplified situation. You can see that the chairs are overlapping the corners of the sofa, and if the room were only a foot or so wider, there would be enough room to achieve this very symmetrical furniture layout. But there’s NOT. The overall idea was a good one, leave the area around the entry open, center the entertainment center and furniture for easy viewing. But, the restraints of the room (width) can not be altered. Thus, the best option, is to ditch the “woulda, coulda, shoulda” idea and find a better one.

good 1

Here we have the same room and same furniture (with the addition of a side table and lamp). The layout is no longer considered symmetrical. But it accomplishes the same goal (conversational seating and easy viewing of the tv). What is better about this option, is that the furniture is not being over crowded in the corners. It may not be bothersome to some, but it is in fact a MAJOR space planning faux pas, and easily spotted by the trained eye.

Example 2: Bedrooms

bad 4

Bedrooms are often culprits of crowding corners. Simply because, they often have a need for many pieces of big, bulky furniture- and no space to put it. In the above example, seeking symmetry, the bed and nightstands are along the back wall, and then a dresser is left to overlap one of the bedside tables.

good 4

The Solution in the scenario is to forgo centering the bed on the back wall. Rather, shifting the bed and nightstands to the right, gives enough space for the dresser to now go one the left wall. And in order not to crowd the door, the edge of the dresser aligns with the foot of the bed, creating an uninterrupted path in front of the door and closet.

Example 3: 

bad 3

This is room is illustrated as a nursery, but imagine it as you may, I have seen these situations too many times to count, and it is such a simple fix. Basically, the arrangement above is trying to achieve the crib centered on the back wall, the changing table centered on the left wall and the bookcase centered on the right wall. Centering things is not always the answer! In fact, centering is often the destroyer… of a good space plan.

good 3

These crowded corners, are the easiest fix of all! You can still achieve the “centered” look by keeping the crib centered on the back wall. Drawing the changing table and book cases closer to the door, and aligning with the edge of the rug, makes all the sense in the world!

Example 4: The dual focal point debacle 

bad 5

When your family room has a focal feature, like a bay window or a fireplace, it is often a blessing and a curse. The feature should rightfully be the focal point of the room, but it begs the questions – “where to put the tv?” This example is striving to accommodate both the bay window and the tv area and it is doing a fairly good job. The sectional sofa allows both sides of the room to be viewed, and the chairs set back in the window offer a cozy and conversation worthy spot. But this arrangement falls short in the disconnect between the 2 seating areas (1.the couch, 2.the chairs). The sofa is essentially cutting the chair on the right out of the group. (Have you ever been standing just outside a circle of people talking, not sure if you should wiggle your way back in or just walk away- Awkward.)

good 5

Here the arrangement is essentially the same, but a few minor tweaks make all the difference. The couch was shifted to the right to allow that poor “loner” chair to join the conversation. A slight angling inward of the chairs, and pulling them a little farther into the room, makes it much more inclusive and intimate. Lastly, re-positioning the rug so that all the furniture pieces can slightly overlap it and centering the coffee table among the lot, does the trick!

*No worries that the sofa is “too close” to the windows. A valuable lesson I was taught in school, was that good design draws people into and through the space, rather than suggesting visitors should walk around the edges.

Always consider your “crowded corners” and think out of the box to configure your furniture in the space (and with the restraints) that you have. These examples, are just a small sampling of this very common mistake that is made in even the most stylish of spaces.

Interior design dont do diagram

DIY Painted Brick Wall

For months I have been wanting to buy this brick pattern wallpaper from Sherwin Williams

IMG_5552.JPG
But I have put it off time and time again for multiple reasons. Mostly because there were more pressing things to spend money on. But something came over me this past Monday, and i didn’t want to sit on my idea any longer. So I stopped by the hardware store to pick up the thinnest painters tape they had. Which turned out to be this .70″ roll

IMG_5517.JPG
Why did I care for it to be thin, you ask? Because I wanted to use this tape to create “grout lines” for a faux brick- painted accent wall! Luckily the color of the wall in question was already painted a very very light grey- it looks white unless you hold something truly white next to it. And double luckily, I had a can of glossy, bright white paint to use for my “bricks”. So the only thing I had to buy for my project was the tape (1.5 rolls to be exact).

And then, I just started measuring and taping away. The bricks were measured at 3″ high rows, and 6″ widths. I started taping all the rows first, making a stripe pattern and then went back through and measured and taped all the small vertical lines.

IMG_5515.JPG
It took a solid 3 hours of time to tape the wall with this much detail. But it was well worth it.

IMG_5520.JPG

IMG_5525.JPG
And by sheer luck, the wall was perfectly dimensioned so that there were the exact amount of rows to go to the ceiling without having any “half bricks” as well as complete bricks at both the left and right edges of the wall. I wouldn’t have cared if it hadn’t worked out this way, but the fact that it did sure made my day!

IMG_5523.JPG

IMG_5521.JPG
Once the wall was fully taped, I took a small foam roller and painted the entire thing white. I have found that foam rollers work better when you are painting a pattern with tape. For some reason it bleeds through the tape less.

IMG_5527.JPG

IMG_5528.JPG
I was a little afraid of the final reveal. Would the lines be noticeable with 2 colors so similar? Would it even end up looking like brick? As usual, I couldn’t wait too long before taking the tape off, and once I did…

IMG_5550.JPG

IMG_5547.JPG

IMG_5543.JPG

IMG_5544.JPG
I’m always happy I tried!
-Keepin it Glamorous!
Lexie